Grungy Ink Brush Strokes: A Creator’s Guide
Adding texture and personality to digital designs can often feel like the missing piece in a polished project. While clean lines and perfect vectors have their place, they sometimes lack the raw energy that connects with an audience on an emotional level. This is where grungy brush strokes and ink brush strokes become invaluable assets for creators of all skill levels. These elements introduce imperfection, movement, and a tactile quality that flat colors simply cannot achieve.
Whether you are designing a bold logo for a startup coffee shop or creating a heartfelt birthday card for a friend, the right texture can transform a standard layout into something memorable. The appeal lies in the organic nature of these graphics. They mimic the unpredictable flow of real ink on paper, the rough drag of a dry brush, or the splatter of artistic expression. By integrating these elements, you bridge the gap between the digital screen and the physical world, making your work feel more authentic and handcrafted.
Understanding the Versatility of Digital Brushes
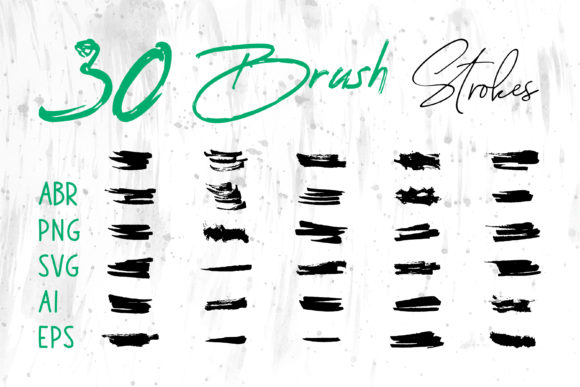
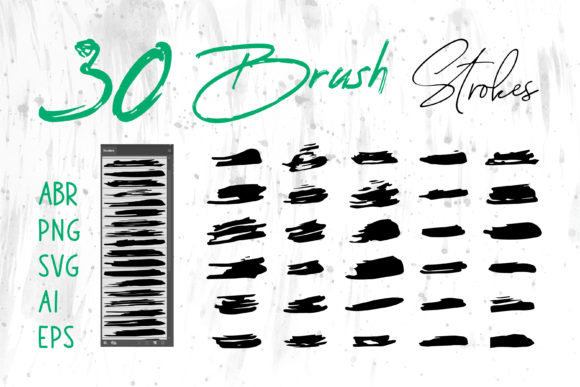
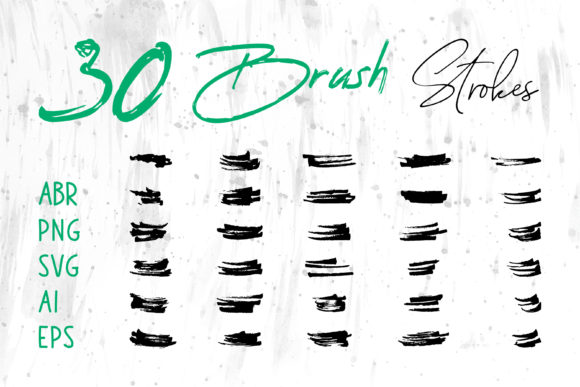
One of the most significant advantages of modern design resources is flexibility. When you acquire a comprehensive pack of grungy brush strokes, you are not just getting a single image file. You are gaining access to a toolkit designed to work across multiple platforms. The inclusion of files in formats such as ABR (for Adobe Photoshop), ProCreate brushes, PNG with transparent backgrounds, SVG, AI, and EPS ensures that you are never limited by your software choice.
For instance, if you are a traditional graphic designer working in Adobe Illustrator, the vector-based AI and EPS files allow you to scale your ink splatters to any size without losing quality. This is crucial for large-format printing, such as banners or vehicle wraps. On the other hand, if you are a digital illustrator using an iPad, the ProCreate and ABR files let you paint directly onto your canvas, giving you control over pressure sensitivity and opacity. Even users who rely on everyday office software like MS Word or MS PowerPoint can benefit from the PNG files. Simply drag and drop a high-resolution PNG onto your slide or document to add a professional, artistic flair to your presentations without needing advanced design skills.
Practical Applications in Design and Business
The utility of these brush strokes extends far beyond simple decoration. They serve functional roles in branding, marketing, and personal projects. Here is how different creators can leverage these assets effectively:
- Branding and Logos: Many modern brands aim for an approachable, rugged, or artisanal image. A logo incorporating an ink brush stroke can convey creativity and boldness. Think of outdoor gear companies, craft breweries, or independent boutiques. The grunge element suggests durability and authenticity.
- Social Media and Web Banners: In the fast-scrolling world of social media, static images need to grab attention quickly. Using dynamic brush strokes as background elements or frames for text can increase engagement. They break up the monotony of grid layouts and guide the viewer’s eye toward key messages or calls to action.
- Packaging and Product Design: For physical products, texture is key. Designing labels for candles, cosmetics, or food items often requires a touch of elegance mixed with rustic charm. Grungy textures can simulate the look of hand-stamped labels, appealing to consumers who value handmade quality.
- Apparel and T-Shirt Printing: The fashion industry, particularly streetwear and vintage-style apparel, relies heavily on distressed graphics. Ink splatters and rough brush marks create a worn-in look that feels trendy and lived-in, rather than mass-produced.
Enhancing Personal and Educational Projects
Beyond commercial use, these graphics are fantastic for personal enrichment and educational materials. Teachers and educators can use brush strokes to make worksheets more engaging for students. A math problem set framed by playful ink blots feels less intimidating and more inviting. Similarly, digital scrapbookers can use these elements to add depth to their memory pages. Instead of relying solely on photos and standard fonts, adding a watercolor-style brush stroke behind a title can create a focal point that highlights the significance of the memory.
For hobbyists involved in card making or invitation design, the ability to customize these elements is a game-changer. You can adjust the color of an SVG file to match a wedding theme perfectly or layer multiple PNGs to create a complex, unique background for a holiday greeting. The ease of use means you do not need to be a master painter to achieve a professional artistic result.
Key Considerations for Best Results
While using pre-made brush strokes is straightforward, keeping a few design principles in mind will elevate your final output. First, consider contrast and legibility. Grungy textures are busy by nature. If you place text directly over a dense ink splatter, it may become hard to read. Always ensure there is sufficient contrast between your content and the background texture. Using a solid color overlay with reduced opacity can help soften the brush stroke while maintaining its character.
Secondly, think about context and tone. Not every project benefits from a grunge aesthetic. A corporate financial report might require a cleaner, more structured look, whereas a music festival poster thrives on chaos and energy. Understanding the mood you wish to convey will help you decide how heavily to rely on these textures. Sometimes, a subtle hint of an ink edge is more effective than a full-screen splatter.
Finally, pay attention to file formats. Using a low-resolution JPG instead of a transparent PNG can result in ugly white boxes around your brush strokes, ruining the seamless look. Always verify that you are using the correct file type for your specific software. For web use, optimize your PNGs to ensure fast loading times without sacrificing visual quality. For print, ensure your AI or EPS files are set to the correct color profile (usually CMYK) to avoid color shifts when printed.
In conclusion, incorporating grungy brush strokes and ink brush strokes into your workflow is a simple yet powerful way to add depth and character to your creations. With the right variety of file formats, you have the freedom to experiment across different mediums, from digital screens to physical prints. Whether you are a seasoned designer looking to speed up your workflow or a beginner eager to make your projects stand out, these versatile tools offer endless possibilities for creative expression.